This post may contain affiliate links, including those from Amazon Associates. If you make a purchase through these links, I may earn a commission at no additional cost to you. Learn more about our affiliate policy.
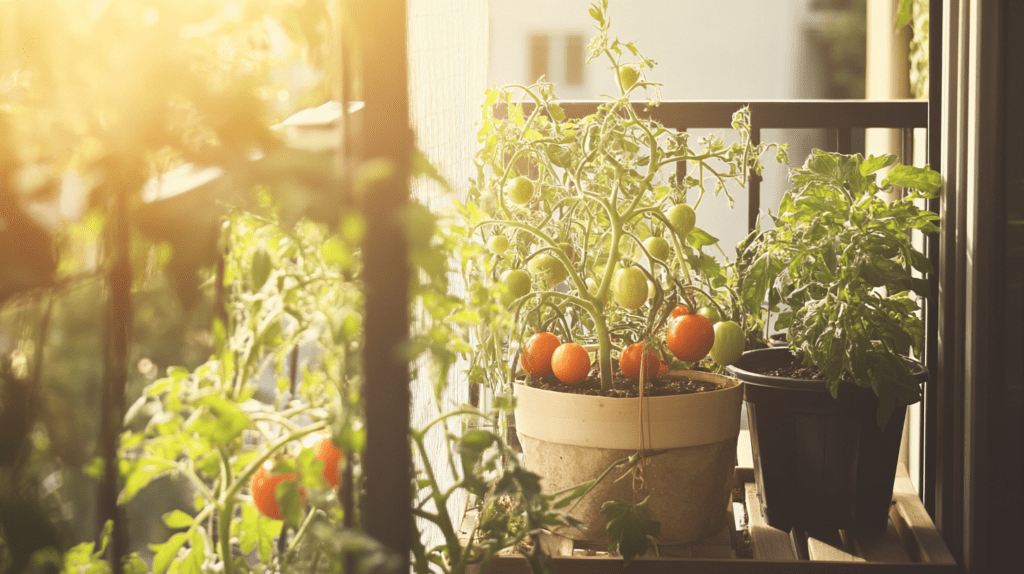
Starting my journey of growing food with backyard homesteading projects was nothing short of transformative. I vividly remember the first time I planted seeds in my own raised garden bed; it felt like planting the seeds of independence. Growing my own food not only nourishes my body but also my spirit. However, I was initially apprehensive about the cost and looked for more affordable options for raised garden beds.
Many people believe that starting a garden requires a hefty investment, and that misconception can hold us back from cultivating a thriving space. I’m here to share some exciting news: you don’t have to spend a fortune to create an urban garden! In this post, I’ll be sharing 7 affordable raised garden bed ideas that can help you turn your backyard into a flourishing homestead.

When to Build a Raised Garden Bed?
Timing is perhaps one of the most important factors in building your raised garden bed. I’ve learned through experience that early spring is a fantastic time to get started; as the soil warms up, you can take full advantage the growing season ahead.
Alternatively, preparing your garden bed in the fall allows for winter composting and sets you up for early spring planting. Knowing when to start building your DIY raised garden bed equips you with a solid foundation for a successful harvest!
1. Reclaimed Wood for Eco-Friendly Gardening

One of my favorite ways to start a garden is by using reclaimed wood. Not only does it save money, but it is also a sustainable choice. Scouring my local area for old pallets or barn wood turned out to be an unexpected treasure hunting adventure. I found a few untreated planks and transformed them into stunning garden beds that harmonized beautifully with my backyard.
Why It’s Affordable
Reclaimed wood is often free or very cheap, especially if you source it from local farms, warehouses, or even community groups offering free materials. Plus, reusing wood reduces waste and gives new life to materials that might otherwise be discarded.
How to Create a Reclaimed Wood Garden Bed:
- Gather Materials: Collect untreated wood, such as pallet slats or scrap boards. Avoid treated wood as it may contain chemicals harmful to your plants.
- Measure and Cut: Decide on the dimensions of your bed and cut the wood to size. Typical raised beds are around 4 feet by 8 feet for easy planting and maintenance. For detailed instructions visit this article from Homestead and Chill blog.
- Assemble the Frame: Arrange the wood into a rectangular or square frame, ensuring the corners are flush.
- Secure the Frame: Use screws or nails to fasten the boards together. For added durability, reinforce the corners with L-brackets.
- Prepare the Bed: Place the frame on your desired spot, line the bottom with landscape fabric to prevent weeds, and fill it with nutrient-rich soil.
Pro Tip
Take your reclaimed wood raised bed to the next level by attaching trellises to support climbing vegetables like peas, beans, or cucumbers. This not only maximizes space but also adds vertical interest to your homestead garden.
2. Cinder Blocks for a Modern Look

Cinder blocks are a chic and inexpensive option for creating raised garden beds that make a statement. When I first stacked them in my backyard, I was amazed at how sleek and modern they looked. What’s even better? They’re incredibly durable and offer a unique aesthetic that invites creativity.
Why It’s Affordable
Bricks and cinder blocks are often sold at a discount by homeowners, contractors, or builders looking to get rid of surplus materials. You can also find them secondhand at salvage yards or through community marketplaces, making this an accessible and budget-friendly option.
How to Build a Cinder Block Garden Bed:
- Plan Your Layout: Decide on the size and shape of your raised bed, typically a rectangle or square works best for simplicity.
- Position the Bricks or Blocks: Lay the bricks or cinder blocks on level ground in your desired shape. Ensure they are tightly aligned to create a solid structure.
- Stack if Needed: If you want taller beds, stack the bricks or blocks in layers, offsetting the joints for stability.
- Fill with Soil: Once the structure is complete, fill the bed with nutrient-rich soil, leaving enough room for planting.
- Plant Your Garden: Choose your favorite crops or flowers and start planting!
Pro Tip
Brick or cinder block beds are perfect for perennials or herbs, as their sturdy construction ensures a long-lasting garden feature. For a creative twist, plant herbs or flowers in the hollow sections of cinder blocks to make use of every space and add visual interest to your garden.
3. Stone and Brick for Lasting Quality

If you prefer a more permanent fixture and visually striking option, raised garden beds made from stones and bricks are an excellent choice. Using natural stones or salvaged bricks can add charm and durability to your backyard homestead. This approach not only creates a long-lasting garden feature but also allows you to repurpose materials you may already have on hand.
Why It’s Affordable
If you have stones on your property or leftover bricks from a previous project, this method can be virtually free. Alternatively, you can source inexpensive or secondhand materials from local suppliers or online marketplaces.
Steps to Create a Stone or Brick Garden Bed:
- Gather Materials: Choose sturdy stones or bricks that can withstand weather conditions over time.
- Mark the Area: Outline the garden bed shape in your desired spot, ensuring it fits your garden’s layout.
- Stack Securely: Carefully stack the stones or bricks to create walls, adjusting as needed to keep them stable and level.
- Add Soil: Fill the bed with nutrient-rich soil, layering compost and topsoil for optimal plant growth.
Pro Tip
Use larger stones at the base for added stability and incorporate smaller stones or bricks at the top for a polished look. This method works particularly well for growing perennials or herbs, as the durable structure provides long-term support for your plants.
4. Wire Fencing for a Creative Approach

If you’re working with limited space or need a portable solution, wire fencing can make an innovative and affordable raised garden bed. This lightweight method is perfect for renters or small backyards, offering flexibility without sacrificing functionality. Plus, it’s surprisingly easy to set up!
Why It’s Affordable
Wire fencing is cost-effective and widely available at hardware stores or secondhand from online marketplaces. You can often reuse leftover fencing from other projects, saving even more.
Building a Wire Fencing Garden Bed:
- Gather Materials: Choose a sturdy wire fencing material that can hold its shape.
- Form the Bed: Bend the fencing into a rectangular or circular shape, depending on your preference.
- Secure the Structure: Use stakes or garden staples to anchor the fencing securely to the ground.
- Fill with Rocks and Soil: Layer the outside of the bed with found rocks. Add the compost and soil inside the stones, ensuring it’s evenly distributed.
- Plant Your Garden: Add your seedlings or seeds and watch your portable garden flourish!
Pro Tip
Wire fencing beds are ideal for growing shallow-rooted crops like lettuce or herbs. To add stability and a rustic touch, consider lining the inside of the fencing with burlap or straw before filling it with soil.
5. Old Tires for a Whimsical Touch

Repurposing old tires into colorful raised garden beds is a creative way to add a splash of fun to your backyard while embracing sustainable practices. When I first tried this, I painted the tires in bright, cheerful colors and used them to grow strawberries and herbs. Not only did they make a playful statement, but they also became a conversation starter with friends and neighbors!
Why It’s Affordable
Old tires are often available for free or very low cost from local auto shops, recycling centers, or even online marketplaces. By using materials that would otherwise go to waste, you can create unique and functional garden beds without spending much.
Steps to Make Tire Garden Beds:
- Gather Old Tires: Look for used tires, which are often discarded by garages or available through community giveaways.
- Clean Thoroughly: Wash the tires to remove dirt, debris, and any lingering oils.
- Add a Splash of Color: Use eco-friendly, weather-resistant paint to give the tires a vibrant new look. Choose colors that complement your garden’s aesthetic.
- Stack and Fill: Arrange the tires in your desired configuration—stacked for depth or spread out for individual beds. Fill each tire with nutrient-rich soil.
- Plant Your Crops: Add strawberries, herbs, or even flowers to create a lively and productive garden feature.
Pro Tip
Tire garden beds are ideal for small spaces or container gardening. For an extra playful touch, consider arranging the tires in patterns, like a flower shape, to enhance the whimsical vibe of your homestead.
6. Gabion Baskets for Rustic Charm
If you’re drawn to a rustic and artistic garden aesthetic, gabion baskets are a perfect choice for your raised garden beds. These wire baskets, filled with rocks or gravel, add a unique design element while providing a sturdy and durable solution. They blend seamlessly with natural landscapes and can be a cost-effective option for creating a visually striking garden.
Why It’s Affordable
Gabion baskets are readily available at hardware stores or online at reasonable prices. You can often source rocks or gravel for free from your property or at a low cost from landscaping suppliers, making this an economical and stylish option.
How to Create a Gabion Basket Garden Bed:
- Purchase Gabion Baskets: Select baskets in the size and shape that fits your garden layout.
- Fill with Rocks or Gravel: Fill the baskets with natural stones or gravel, packing them securely to ensure stability.
- Layer with Soil: Add a thick layer of quality soil on top of the rocks to create a planting surface.
- Plant Your Garden: Choose plants that thrive in well-drained environments, such as herbs, flowers, or hardy vegetables.
Backyard Homestead Tip
Gabion baskets work particularly well for edging or sectioning off garden spaces. To enhance the rustic charm, consider using colorful or uniquely shaped stones, and pair the baskets with other natural elements like wooden garden features or trellises.
7. Upcycled Bathtubs for a Unique Garden Centerpiece

This one is on my wish list! Transform an old bathtub into a one-of-a-kind garden bed that serves as both a functional planter and a charming focal point for your homestead. This creative option not only adds personality to your garden but also provides ample space for your plants to thrive.
Why It’s Affordable
Old bathtubs can often be found at salvage yards, thrift stores, or online marketplaces at a fraction of the cost of traditional raised garden beds. By repurposing a discarded tub, you save money while reducing waste.
Creating an Upcycled Bathtub Garden
- Prepare the Tub: Clean the bathtub thoroughly and drill additional drainage holes in the bottom to prevent waterlogging.
- Position the Tub: Place the tub in your desired garden location, ensuring it is level and stable.
- Fill with Soil: Add a mix of compost and nutrient-rich soil to create the perfect environment for your plants.
- Plant Your Garden: Choose flowers, fruits, or vegetables to plant, arranging them for a lush and vibrant look.
Pro Tip
Upcycled bathtubs are ideal for growing fruits like strawberries or flowers that attract pollinators, adding beauty and functionality to your homestead. To enhance its aesthetic appeal, consider painting the tub or surrounding it with natural elements like stones or wooden accents.
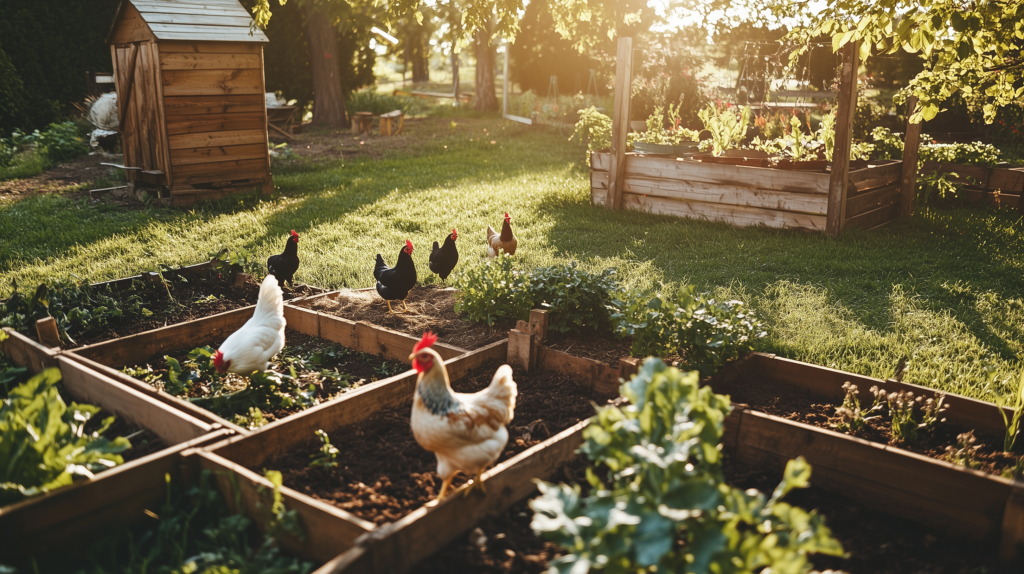
Conclusion
Embarking on your journey toward a backyard homestead doesn’t have to be expensive or overwhelming. By exploring these 7 inexpensive DIY raised garden bed ideas, you can confidently cultivate your space into a vibrant garden oasis. From reclaimed wood to whimsical tire beds, there’s an option for every budget and aesthetic preference.
I encourage you to try out one of these ideas today. Perhaps start with a simple cinder block bed or a colorful tire planter – you’ll be amazed at how quickly you can transform your outdoor space. Remember, every small step brings you closer to a flourishing garden filled with fresh produce and joy. Happy gardening!