This post may contain affiliate links, including those from Amazon Associates. If you make a purchase through these links, I may earn a commission at no additional cost to you. Learn more about our affiliate policy.
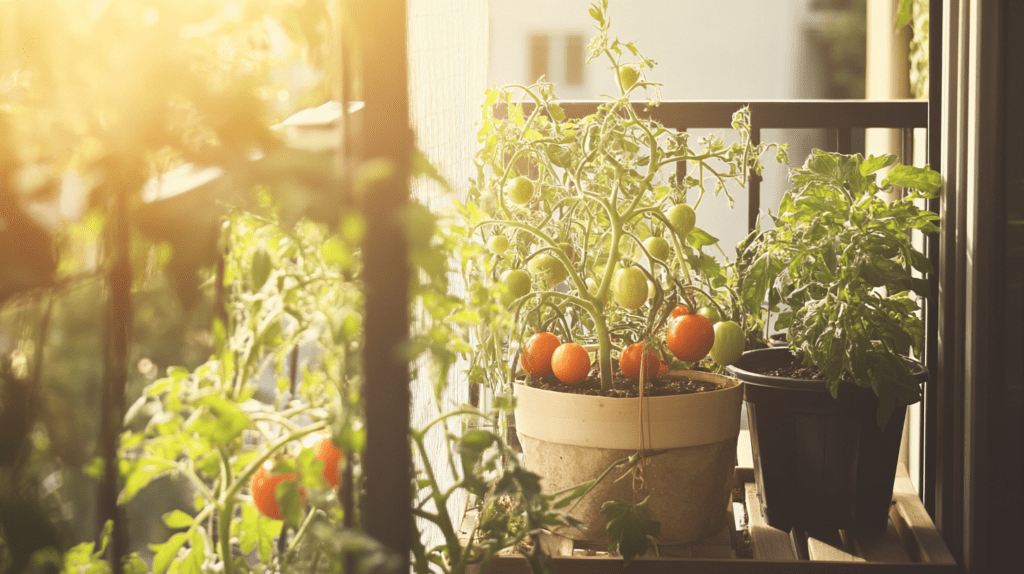
Gardening season is almost here, and I can’t help but feel that familiar excitement about the potential for a thriving backyard vegetable garden.
Are you ready to give your garden the head start it deserves?

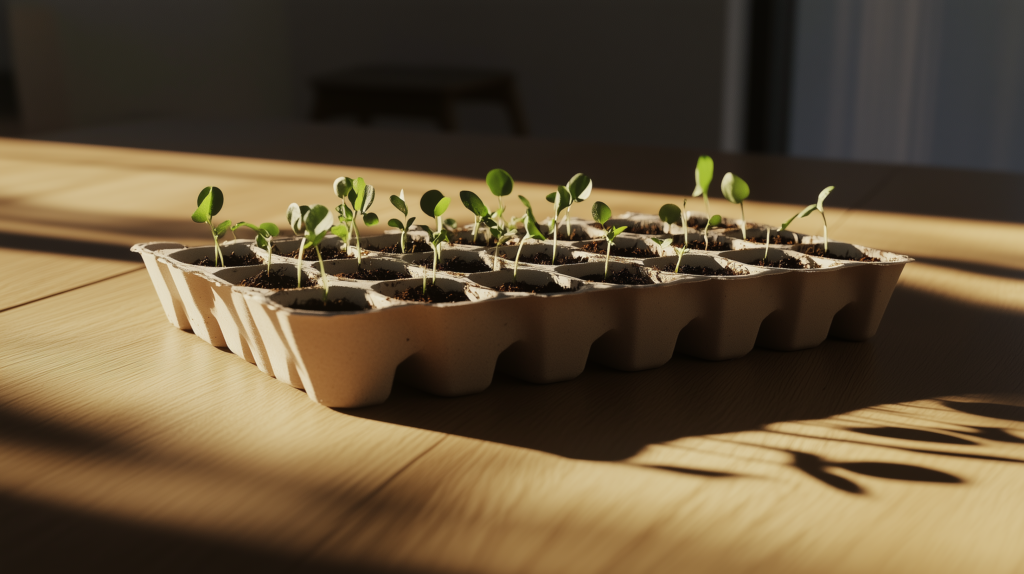
Starting seeds indoors during the winter is one of the best ways to set yourself up for a thriving harvest come summer. It saves money, gives you healthier plants, and opens up the possibility of growing unique varieties you’d never find at the local nursery.
When I first started, the idea of seed starting felt a bit overwhelming. There were so many questions: What soil should I use? How much light do they need? When should I even begin? If you’re feeling the same way, don’t worry, you’re in the right place.
In this guide, I’ll walk you through 10 easy and beginner-friendly tips to make indoor seed starting simple and stress-free.
By the end, you’ll feel confident and ready to grow strong, healthy seedlings that will thrive in your backyard homestead garden.
Tip 1: Choose the Right Containers

The containers you use need to be small enough to hold individual seeds but deep enough to allow root development, with proper drainage to prevent overwatering. While seed-starting trays are a popular option, there are many budget-friendly, DIY alternatives you can create with items you likely already have at home.
Just remember: drainage holes are essential. If your container doesn’t have them, poke a few holes in the bottom with a knife or skewer to keep the roots healthy.
DIY Container Ideas:
- Egg Cartons: Perfect for small seeds. Just cut apart the sections for easy transplanting.
- Yogurt Cups: Wash and reuse individual cups, ensuring you add drainage holes.
- Toilet Paper Rolls: Fold the bottom edges to create a base, and fill with seed-starting mix.
- Plastic Takeout Containers: These work well as mini greenhouses—just add drainage and a clear lid.
- Biodegradable Pots: Make your own using newspaper or cardboard to create eco-friendly containers that can be planted directly into the soil.
Pro Tip: Label each container clearly with the vegetable variety and planting date using waterproof markers or tape. This will help you stay organized and keep track of your seedlings’ progress, especially if you’re starting multiple types of seeds at once!
Tip 2: Use High-Quality Seed-Starting Mix
The soil you use for starting seeds is just as important as the containers you choose. Seedlings are delicate and need a lightweight, nutrient-rich mix to thrive.
Unlike garden soil, which can be heavy, compacted, and full of weed seeds or pathogens, seed-starting mix is specifically designed to promote healthy germination and root development.
These mixes are typically light, well-draining, and often enriched with materials like peat moss, perlite, or vermiculite to retain moisture without becoming waterlogged.
Recommended Organic Seed-Starting Mixes:
- Espoma Organic Seed Starter Premium Potting Soil Mix An all-natural and organic mix enhanced with mycorrhizae to promote root growth. Ideal for organic gardening.
- Burpee Organic Coconut Coir Concentrated Seed Starting Mix Made from renewable coconut coir, this mix provides a quality growing medium for all types of plants.
- Jiffy Organic Seed Starting Soil Mix Specially formulated to replicate greenhouse conditions, this mix is enhanced with peat moss, vermiculite, and lime, resulting in excellent seed germination.
Pro Tip: Avoid using garden soil for starting seeds as it’s often too dense, making it harder for tender roots to grow. Plus, it may contain pathogens or pests that can harm your seedlings before they have a chance to thrive.
Tip 3: Understand Your Frost Dates
Timing your seed starting indoors revolves around one critical factor: your local frost dates. Frost dates mark the average last frost in spring and the first frost in fall, giving you a clear window for when to start seeds and when to transplant them outside.
Knowing your frost dates is crucial for timing seed starting indoors to ensure your backyard vegetable garden thrives. Starting too early can result in leggy, overgrown seedlings, while starting too late might leave you scrambling to get plants into the ground.
To find your frost dates, check the National Gardening Association’s Frost Dates Tool. Simply enter your zip code, and the tool will provide the average frost dates specific to your area. From there, you can determine the right time to start seeds indoors based on the germination and growth requirements of each vegetable.
How to Time Seed Starting:
- Check Frost Dates: Use the frost date tool to find your area’s last spring frost.
- Work Backwards: Check seed packets or online guides to see how many weeks before the last frost your seeds should be started.
- Example: Start tomatoes 6–8 weeks before the last frost.
- Create a Calendar: Write down the start dates for each vegetable to stay organized.
Pro Tip: For a staggered harvest, start seeds in batches a week or two apart. This ensures a continuous supply of fresh vegetables throughout the growing season.
Tip 4: Provide Ample Light

Adequate lighting is essential for the healthy growth of your seedlings. Without sufficient light, seedlings can become leggy and weak as they stretch toward light sources.
While natural sunlight is ideal, it can be challenging to provide consistent, adequate light indoors, especially during shorter winter days. Placing your seedlings near a sunny, south-facing window can help, but often, supplemental lighting is necessary to ensure they receive the 12 to 16 hours of light they need daily.
Investing in full-spectrum grow lights replicates natural sunlight, promoting robust growth and reducing the risk of weak, spindly plants.
Recommended Full-Spectrum Grow Lights:
- FECiDA LED Grow Light This full-spectrum grow light offers adjustable brightness and a built-in fan for cooling.
- GooingTop LED Grow Light Featuring a clip design for easy attachment, this lamp provides full-spectrum light with five dimmable levels and an auto on/off timer, making it ideal for small indoor plants.
- Barrina T5 Grow Lights These LED grow light strips are designed for larger setups, offering full-spectrum light and easy installation. They are energy-efficient and can be linked together to cover more area.
Pro Tip: Position grow lights approximately 2 to 4 inches above the seedlings, adjusting as they grow to maintain optimal distance. This placement ensures they receive adequate light without the risk of burning or stretching toward the source. Using a timer to automate the lighting schedule can help maintain consistency, providing seedlings with the necessary light duration for healthy development.
Tip 5: Maintain Proper Temperature
Temperature plays a vital role in seed germination and seedling growth. Most vegetable seeds thrive when the soil temperature stays between 65–75°F. If the soil is too cold, seeds may germinate slowly or fail to sprout altogether.
Keeping the temperature consistent during the germination period is key to ensuring strong and healthy seedlings.
If your home tends to be cooler, especially at night, consider using a heat mat for seed starting to gently warm the soil. Heat mats are designed to maintain the ideal temperature for seed trays and are a simple way to give your seeds the boost they need to germinate successfully.
Once the seedlings sprout, you can remove the mat and focus on maintaining a stable room temperature.
Pro Tip: Place a thermometer in your seed-starting area or use one with a built-in thermostat for your heat mat to monitor soil temperatures accurately.
Tip 6: Watering Wisely
Proper watering is critical for healthy seedling growth, but it’s a delicate balance. Overwatering can lead to root rot and fungal diseases, while underwatering can cause seedlings to dry out and wither.
The key is to keep the soil consistently moist but not soggy. Check the surface of the soil regularly – if it feels dry to the touch, it’s time to water.
Using a spray bottle is an excellent way to water seedlings gently and evenly without disturbing the fragile roots or compacting the soil.
Be sure to let the top layer of soil dry slightly before watering again to avoid waterlogged conditions. Consistency is crucial, so make watering part of your daily routine to give your seedlings the best start possible.
Pro Tip: Water your seedlings in the morning to allow excess moisture to evaporate throughout the day. This reduces the risk of mold or fungal growth that can develop in overly damp conditions.
Tip 7: Know Which Vegetables to Start Indoors
Knowing which vegetables to start indoors and which to plant directly outside is essential for a productive backyard vegetable garden.
Some vegetables thrive when started indoors because they need a longer growing season. On the other hand, root vegetables and fast-growing crops are better suited for direct sowing in your garden. Choosing the right vegetables to start indoors ensures your backyard vegetable garden thrives from the start.
Vegetables Best Started Indoors:
- Tomatoes: Require a long growing season and benefit from an early start.
- Peppers: Need warmth and time to develop strong roots and stems before outdoor planting.
- Brassicas (Broccoli, Cabbage, Cauliflower): Thrive when given a head start indoors, especially in cooler climates.
Vegetables Best Sown Directly Outdoors:
- Carrots: These root vegetables don’t transplant well and grow best when sown directly in the soil.
- Beans: Quick to germinate and grow, beans are easy to start directly in the garden.
- Peas: Prefer cooler soil temperatures and germinate quickly when planted outdoors.
Pro Tip: For a well-planned garden, check the seed packet for each vegetable’s specific recommendations. Look for information about whether to start indoors or direct sow, along with timing guidelines, so you can create a planting schedule tailored to your backyard vegetable garden.
Tip 8: Fertilize for Strong Growth
Fertilizing is an important step in helping your seedlings grow strong and healthy. Once your seedlings develop their first true leaves (the second set of leaves that appear), they’re ready for a little extra nutrition.
Using a diluted organic fertilizer provides the essential nutrients young plants need to develop strong roots and sturdy stems. Organic fertilizers are gentle and help promote natural growth, making them a great choice for your backyard vegetable garden.
How to Fertilize Seedlings:
- Choose an Organic Fertilizer: Look for a balanced fertilizer or one with slightly higher nitrogen for early growth.
- Dilute Properly: Follow the fertilizer’s instructions, typically mixing it to half or quarter strength to avoid overwhelming the delicate seedlings.
- Apply Sparingly: Use a watering can or spray bottle to apply the fertilizer gently, ensuring even coverage without over-soaking the soil.
Pro Tip: Avoid over-fertilizing your seedlings, as too much fertilizer can burn their tender roots and cause stunted growth. Start with a light application once a week and adjust based on how your seedlings respond.
Tip 9: Harden Off Before Transplanting

One of the most critical steps in the seed-starting process is hardening off your seedlings before transplanting them outdoors. This process gradually acclimates your young plants to outdoor conditions, such as sunlight, wind, and fluctuating temperatures, which can be a shock to seedlings raised indoors.
How to Harden Off Seedlings:
- Start by placing your seedlings outside in a sheltered, shaded spot for an hour on the first day.
- Gradually increase the time outdoors by an hour or two each day over the course of a week.
- Move them to sunnier and more exposed areas as they adjust, ensuring they don’t dry out or wilt.
- By the end of the hardening-off period, your seedlings will be ready to handle full sun and the elements.
Pro Tip: Keep an eye on the weather during this process. Avoid hardening off on particularly windy or cold days, as these conditions can stress or damage tender seedlings.
Tip 10: Plan for Transplant Success

Transplanting is a pivotal moment for your seedlings, so proper preparation is essential.
Start by ensuring the soil in your garden is well-prepared: loosen the soil, remove weeds, and enrich it with compost or organic matter to provide a nutrient-rich base for your plants. Spacing is also important, so check the recommendations on your seed packets to ensure each plant has enough room to grow and thrive.
When it’s time to transplant, handle your seedlings with care. Gently loosen the soil around their roots and avoid pulling them by the stem to prevent damage. Water your seedlings thoroughly before planting to reduce transplant shock, and water again immediately after planting to help the roots settle into their new environment.
Pro Tip: Transplant seedlings in the early morning or late afternoon to avoid the intense midday sun, which can stress young plants. Overcast days are ideal for transplanting, as they give your plants time to adjust before facing direct sunlight.
Common Mistakes to Avoid
Even with the best intentions, some common mistakes can hinder your seed-starting success. Here’s what to watch out for:
- Starting seeds too early: Timing is everything. Starting too soon can leave you with overgrown seedlings before it’s time to plant outdoors.
- Using poor-quality seeds: Always choose fresh, high-quality seeds from reliable sources to ensure good germination rates.
- Neglecting light or proper watering: Seedlings need consistent light and moisture to thrive. Skimping on either can lead to weak, unhealthy plants.
Conclusion
Starting seeds indoors is a rewarding and empowering way to kick off your backyard gardening season.
By following these 10 tips you’ll give your plants the strong start they need to flourish. These simple yet effective steps can help you grow a thriving backyard vegetable garden while saving money and enjoying a greater variety of crops.