This post may contain affiliate links, including those from Amazon Associates. If you make a purchase through these links, I may earn a commission at no additional cost to you. Learn more about our affiliate policy.
For years, I thought growing my own food was impossible because I lived in a rental apartment with no yard, that is until I discovered the magic of container gardening.
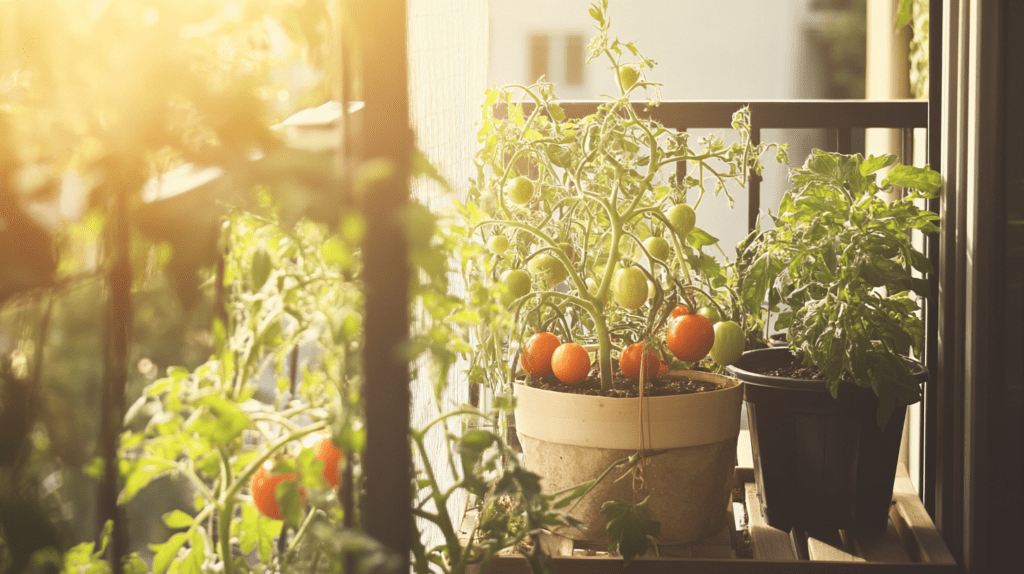
Whether you’re renting an apartment with a small balcony or a house with a backyard, container gardening is the perfect solution. It allows you to grow your own food without making any permanent changes to your space, keeping landlords happy while giving you the freedom to create a garden that pays dividends in nourishment.

With container gardening, you’re not only saving money on produce, but you’re also gaining control over what you eat, reducing waste, and taking meaningful steps toward a more self-sufficient lifestyle.
Container gardening is super convenient, not to mention empowering. You’ll enjoy the satisfaction of harvesting fresh produce, save money on groceries, and gain control over what you eat, all while avoiding permanent modifications that could jeopardize your security deposit.
In this post, I’ll show you exactly how to start a renter-friendly container garden that works for any space, big or small.
Why Container Gardening is Perfect for Renters & Urban Homesteaders

I
f you’ve ever felt like renting limited your ability to grow your own food, container gardening is the perfect solution. It’s flexible, portable, and allows you to embrace homesteading without permanently altering your rental property.
No Need for Permanent Modifications
One of the biggest advantages of container gardening is that it doesn’t require you to dig up your landlord’s yard or build permanent structures. Whether you’re working with a balcony, patio, or backyard, all you need are portable containers that can be easily rearranged or removed when your lease is up.
If you live in an apartment with a balcony, try easy diy garden projects like adding pots, hanging planters, or even a small vertical garden to create a lush space without drilling holes or making major changes.
If you’re in a rental house with a backyard, you can set up a thriving container garden on the patio or lawn using moveable grow bags, buckets, or raised planters on wheels. When it’s time to move, your garden moves with you!
Flexible and Portable
Container gardening is ideal for renters because it’s so adaptable. You can adjust your setup based on how much sunlight your space gets, bring plants indoors during cold weather, or transport your garden to a new home when you relocate.
Examples of flexible gardening setups for renters:
- Balcony: Use lightweight containers and hanging baskets that maximize vertical space.
- Backyard: Create a cluster of larger containers that can be easily rearranged if needed.
- Patio or Driveway: Use portable grow bags or wheeled planters for added convenience.
When I moved from an apartment to a rental house, I loved how easy it was to transition my container garden. Everything came with me, ready to flourish in my new space.
Great for Any Rental Setup

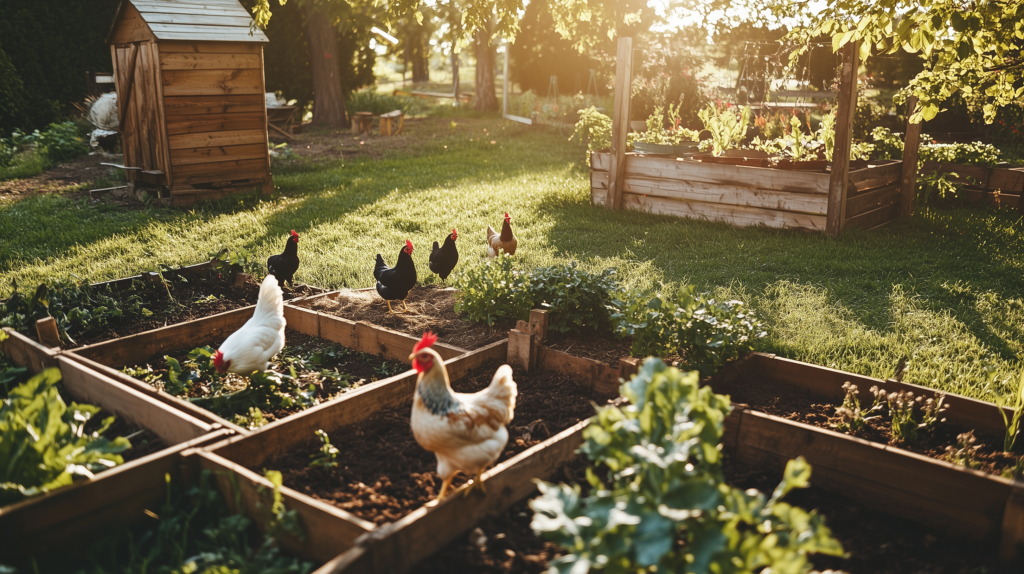
Container gardening works whether you’re an urban homesteader in a small apartment or a suburban renter with a backyard. It’s a low-commitment way to grow your own food without running into issues with your landlord.
Why it’s perfect for renters:
- Apartment dwellers: Limited to a balcony? You can still grow fresh vegetables, herbs, and even small fruits with the right containers and setup.
- Renters with backyards: Use portable containers to create a garden on the patio or lawn without risking your deposit by digging up the grass.
If you’re new to gardening, start with easy-to-grow plants like lettuce, spinach, or cherry tomatoes. These crops thrive in containers and provide quick, satisfying results.
Choosing the Right Containers for Vegetable Gardening

Selecting the right containers is one of the most important steps, and often one of the most common mistakes when starting a container garden. The type of container you choose will depend on the space you’re working with, the vegetables you want to grow, and your budget.
The good news? You don’t need fancy or expensive equipment to get started as many beginner-friendly options are affordable, accessible, and perfect for rental spaces.
Best Container Options for Beginners
If you’re just starting out, these container options are both practical and versatile:
- Grow Bags: Lightweight, breathable, and easy to move, grow bags are perfect for renters who may need portable options. They’re also great for plants that need excellent drainage.
- Large Pots: Whether made of terracotta, plastic, or ceramic, large pots are a classic choice for container gardening. They’re available in a variety of sizes to suit different types of plants.
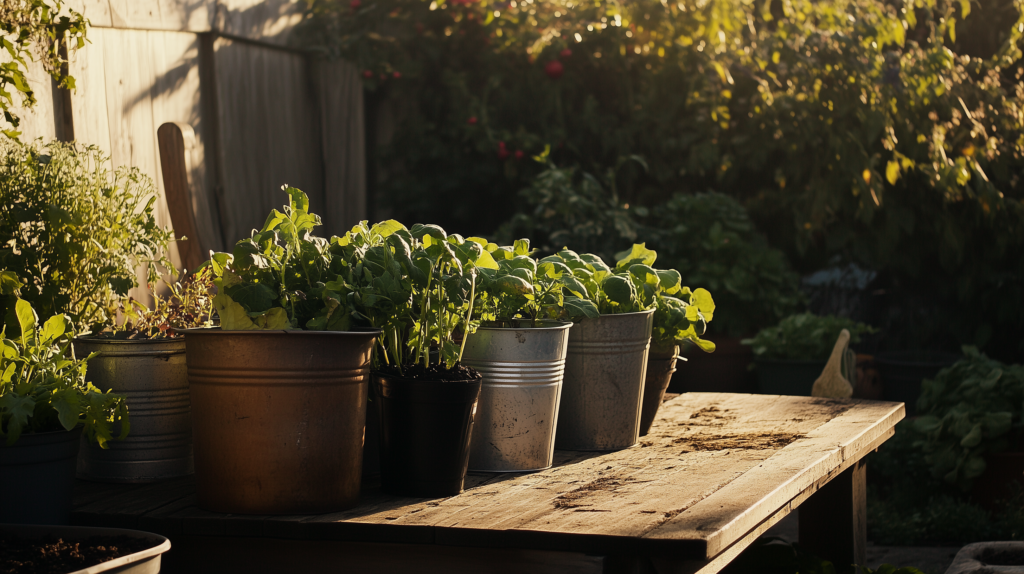
- Buckets: DIY enthusiasts love using 5-gallon buckets for gardening. They’re budget-friendly, durable, and easy to repurpose with a few drainage holes drilled at the bottom.
- Wooden Crates or Repurposed Containers: These add a rustic, aesthetic touch to your garden while being eco-friendly. Line them with landscape fabric to keep soil in place.
- Vertical Garden Planters: Ideal for maximizing small spaces like balconies or patios, these planters allow you to grow a variety of vegetables and herbs vertically.
Size & Depth Guide for Vegetables
Different plants have different space needs, and getting the right size and depth for your containers is crucial to ensuring healthy growth.
- Leafy Greens (Spinach, Lettuce): 6–8 inches deep.
- Tomatoes and Peppers: 12+ inches deep to accommodate their root systems.
- Root Vegetables (Carrots, Radishes): At least 10 inches deep for proper development.
- Herbs (Basil, Mint): 6–8 inches deep, as most herbs have shallow roots.
When choosing container sizes, remember that larger containers hold more soil, which helps retain moisture and reduces how often you need to water.
Material Considerations
The material of your containers matters more than you might think. Here’s a quick guide to help you choose:
- Plastic: Lightweight, durable, and often the most budget-friendly option. They retain moisture well but may not offer the same aesthetic appeal as other materials.
- Ceramic: Stylish and visually appealing, but heavier and prone to cracking in extreme temperatures. Best for smaller, decorative plants.
- Fabric Grow Bags: These breathable containers are fantastic for drainage and root aeration, making them ideal for vegetables like tomatoes and peppers. They’re also portable, which is a huge plus for renters.
- Wooden Boxes: Perfect for adding a rustic touch to your garden. Just be sure to line them with landscape fabric or plastic to protect the wood and retain moisture.
Choosing the Right Vegetables for Container Gardening
Turns out, picking the right vegetables is key to making this whole renter-friendly setup a success. You want crops that play nice in small spaces, don’t demand a ton of fuss, and still give you that fresh, homegrown goodness you’re after.
Whether you’ve got a balcony or a backyard corner, the right choices can turn your containers into a mini homestead without overwhelming you.
Not all veggies are cut out for container life, but plenty are perfect for beginners like us. Leafy greens like spinach and lettuce love shallow pots and grow fast, giving you quick wins to boost your confidence.
Herbs like basil and mint are low-maintenance and happy in tight quarters. Plus, they make your space smell amazing. If you’re craving something heartier, cherry tomatoes and peppers do great in deeper containers, rewarding you with juicy bites all season long.
Need some inspiration to get going? I’ve rounded up my top picks in my post on the 10 easiest vegetables for container gardening in small spaces.
How to Set Up a Thriving Container Garden

Setting up a container garden that thrives is all about creating the right environment for your plants to grow. Whether you’re working with a balcony, a windowsill, or a backyard patio, these tips will help you create a thriving, renter-friendly garden.
Selecting the Right Location
The first step in setting up your container garden is choosing the right spot for your plants. This can make or break your garden’s success, especially if you’re working with limited space.
- Full Sun vs. Partial Shade: Most vegetables need at least 6–8 hours of sunlight per day. If you’re growing sun-loving plants like tomatoes or peppers, look for the brightest spot on your balcony or patio. For leafy greens like spinach or lettuce, partial shade is perfectly fine.
- Windowsills & Indoor Spaces: If outdoor space is limited, windowsills with good light can be a great alternative. Use pots or small planters for DIY indoor herb gardens. You can even supplement with grow lights if natural light is insufficient.
- Maximizing Small Spaces:
- Hang planters from balcony railings or walls to save floor space.
- Use stackable containers or tiered planters to grow vertically.
- Add hanging baskets for trailing plants like strawberries or herbs.
The key is to make the most of the space you have while ensuring your plants get the light they need to thrive.
Soil & Drainage Tips
Healthy soil and proper drainage are the foundation of any successful container garden. Plants in containers rely entirely on the soil you provide, so it’s important to get this part right.
- The Best Soil Mix for Containers: Choose a lightweight, well-draining potting mix specifically designed for containers. Avoid using garden soil, as it can become too compact and prevent roots from growing properly.
- DIY Soil Blends: For a cost-effective option, mix equal parts of:
- Organic potting mix
- Compost (for nutrients)
- Perlite or coarse sand (for drainage and aeration)
- Ensuring Proper Drainage:
- Always use containers with drainage holes at the bottom to prevent water from pooling and causing root rot.
- Add a layer of gravel, small rocks, or mesh at the bottom of your container to improve drainage further.
By focusing on soil health and drainage, you’ll give your plants the best chance to grow strong and healthy.
Watering & Maintenance
Plants in containers dry out faster than those in the ground, so proper watering and maintenance are essential.
- Watering Frequency: Check the soil daily, especially during hot weather. Most container plants need watering once a day, but it’s important to avoid overwatering. Aim to keep the soil consistently moist but not soggy.
- Self-Watering Containers: Consider using self-watering pots or DIY solutions to reduce how often you need to water. These are especially helpful for busy renters or those new to gardening.
- Fertilizing Schedule: Since nutrients in container soil deplete quickly, regular fertilizing is key. Use organic options like compost tea, worm castings, or a slow-release fertilizer every few weeks to keep your plants healthy and productive.
- Pest Control: Keep pests at bay with natural remedies like neem oil or insecticidal soap. Companion planting (e.g., growing marigolds with tomatoes) can also help repel common pests naturally.
By staying consistent with watering, feeding, and pest management, your container garden will flourish and provide you with fresh, homegrown food all season long.
Planting Pollinator Plants

Don’t forget your pollinator plants!
Adding pollinator-friendly flowers and herbs to your container garden is a simple yet powerful way to support the environment while boosting the success of your vegetables and herbs. Pollinators like bees, butterflies, and hummingbirds are essential for fertilizing many crops, and creating a welcoming space for them can significantly increase your garden’s yield.
Best Pollinator Plants for Containers
Choose compact, easy-to-grow plants that thrive in containers and appeal to pollinators:
- Lavender: A fragrant herb that attracts bees and butterflies.
- Marigolds: Bright flowers that deter pests while inviting pollinators.
- Zinnias: Low-maintenance blooms in various colors that attract bees and hummingbirds.
- Basil and Thyme (when flowering): Double as herbs for your kitchen and flowers for pollinators.
- Coneflowers (Echinacea): Beautiful and hardy plants that attract butterflies.
DIY Container Gardening Ideas
One of the most exciting parts of container gardening is how creative you can get with your setup. Whether you’re working with a tight budget, limited space, or a desire to upcycle, there are endless ways to customize your container garden to suit your needs. From repurposed materials to vertical gardening hacks, DIY solutions make gardening more accessible and fun for renters.
For budget-conscious gardeners, repurposing everyday items like 5-gallon buckets, old wooden crates, or mason jars can turn common household items into functional planters.
Looking to maximize space? Vertical gardening techniques, like using stackable planters or hanging baskets, are perfect for balconies or small patios. And if portability is your priority, grow bags and wheeled planters make it easy to adjust your garden to follow the sun or move plants indoors when needed.
Container Gardening Troubleshooting & Success Tips
Even with the right setup, container gardening can come with its challenges. The good news? Most issues are easy to fix with a little know-how and planning. Here are some common hurdles renters face with container gardens and how to overcome them for a thriving setup.
How to Deal with Limited Sunlight

Not every balcony or patio gets the ideal 6–8 hours of sunlight most vegetables need. If your space is on the shady side, there are a few tricks to make the most of the light you do have:
- Reflective Surfaces: Place mirrors or reflective materials (like aluminum foil) near your plants to bounce light onto them.
- LED Grow Lights: Indoor gardeners or those with very limited sun can invest in grow lights. These are an excellent option for growing leafy greens, herbs, and even small fruiting plants indoors.
Preventing Overwatering & Root Rot
One of the most common pitfalls of container gardening is overwatering, which can lead to root rot. Plants in containers rely entirely on you for their watering needs, so finding the right balance is crucial.
- Check Soil Moisture Levels: Before watering, stick your finger about an inch into the soil. If it feels dry, it’s time to water; if it’s damp, wait a day or two.
- Use Proper Drainage: Always ensure your containers have drainage holes, and use well-draining soil to avoid water pooling at the bottom.
Boosting Yields in Small Spaces
When working with a limited footprint, maximizing your garden’s productivity is key.
- Companion Planting: Pair plants that grow well together in the same container, like basil and tomatoes or lettuce and carrots. This helps you make the most of your space while promoting healthy plant growth.
- Succession Planting: Once a crop like lettuce or radishes is harvested, replant the container with a new round of seeds to keep the garden producing throughout the season.
Conclusion
Starting a container garden might feel intimidating, but the truth is, it only takes a few small steps to begin your journey toward self-sufficiency. Start with one or two easy to grow plants and expand your garden as you gain confidence.
Watching your first seeds sprout and harvesting your own produce can be one of the most empowering and rewarding experiences.
Self-sufficiency doesn’t mean having it all figured out at once. It’s about starting small and taking simple steps toward growing your own food. Even just a few pots of herbs or vegetables can bring you closer to that goal, and it’s a journey you’ll never regret starting.